

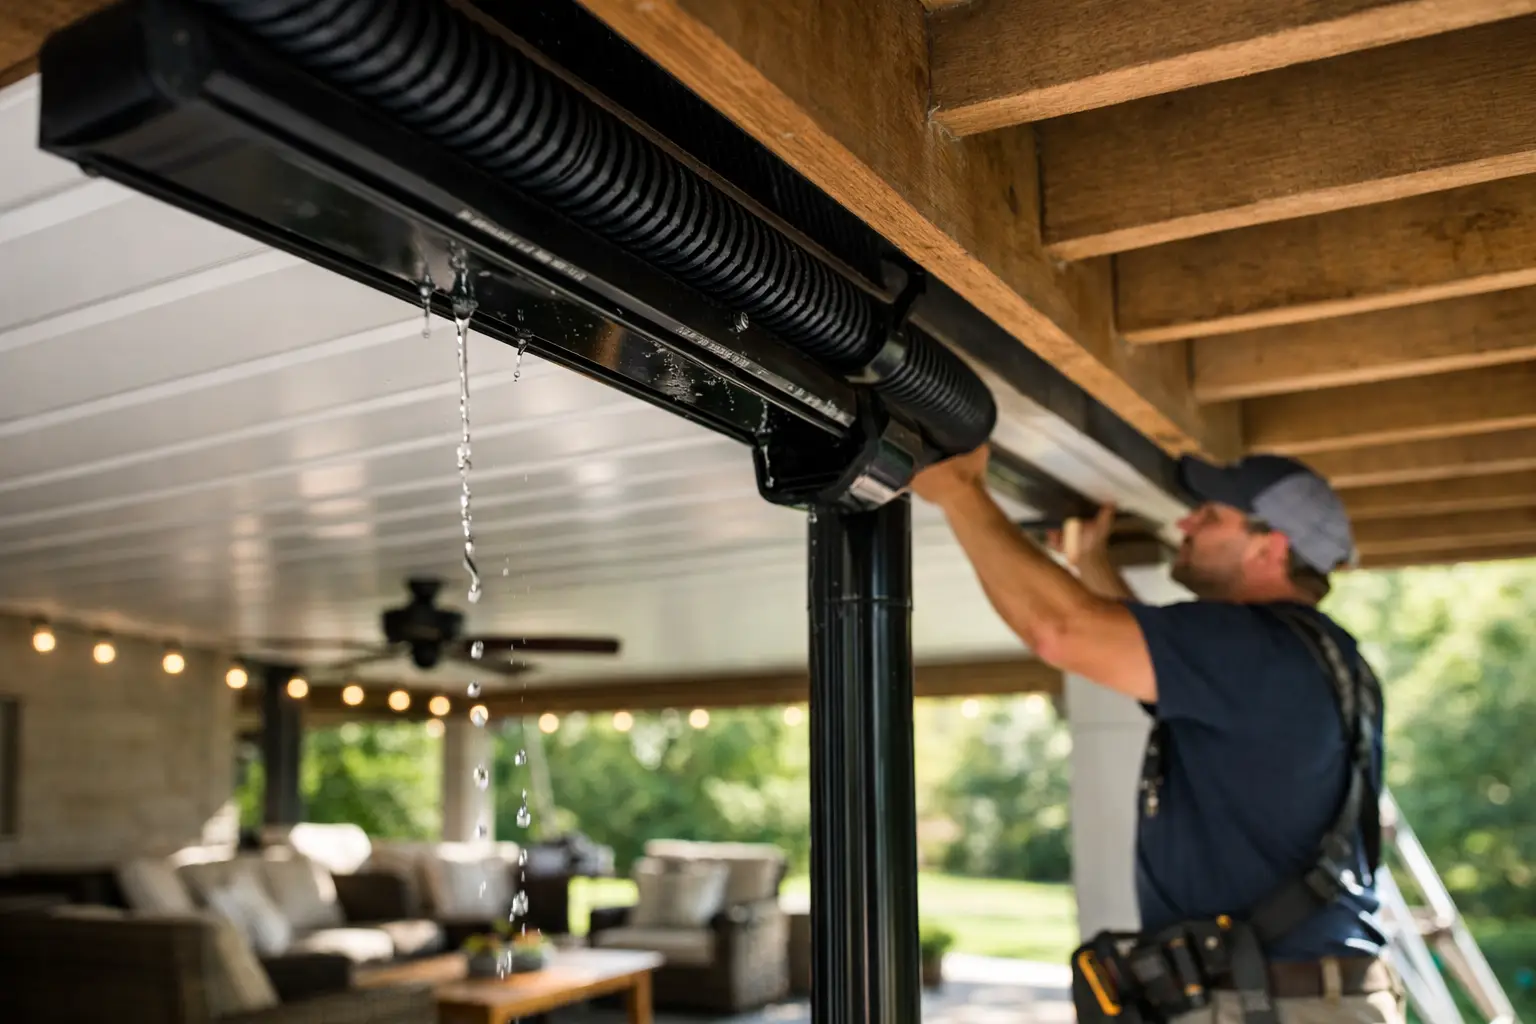
A raised deck can claim valuable square footage without giving it back to your family. When rain runs through the decking boards, the patio, storage area, or seating space underneath may stay damp long after the storm passes. A properly planned under deck drainage system installation changes that. It directs water away from the area below the deck so you can create a cleaner, more useful outdoor space.
The result is not simply a place to stand when it rains. It can be a protected spot for outdoor furniture, a grill area where permitted, a play space, or a shaded patio that feels connected to the rest of your yard. Getting there requires more than attaching panels beneath the joists. Water management, framing condition, slope, drainage discharge, and finish details all need to work together.
What an Under Deck Drainage System Does
Most elevated deck boards are designed to shed water through the gaps between boards. That is normal, even with premium composite decking. An under-deck drainage system captures that runoff below the deck surface and channels it toward a gutter or designated drain outlet.
Many systems use interlocking panels, troughs, or membranes installed beneath the joists. Water falls through the decking, lands in the drainage material, and moves toward the outer edge of the deck. From there, a gutter system carries it away from the house and the usable space below.
This approach can make the area underneath feel significantly drier, but homeowners should set the right expectation. It is not the same as an enclosed room. Wind-driven rain can still enter from the sides, especially on an exposed property. The goal is controlled drainage and a protected outdoor area, not a completely weatherproof interior.
Start With the Deck Above
A drainage system is only as dependable as the structure supporting it. Before installation begins, an experienced contractor should inspect the deck framing, connections, ledger area, and existing water path. Installing a finished ceiling beneath deteriorated framing can conceal issues rather than solve them.
Pay close attention to the deck boards and the condition of the joists. On an older wood deck, repeated moisture exposure may have caused rot, fastener corrosion, or soft areas that need repair before any underdecking is added. On a newer Trex deck, the framing still deserves a careful review because the drainage system will make future access more involved.
The deck’s pitch and the drainage system’s slope matter as well. Water does not move efficiently through a flat trough. The system must be installed with enough fall to guide runoff to the gutter without allowing standing water, debris buildup, or overflow during a heavy Delaware downpour.
The House Connection Deserves Extra Attention
The ledger board is where the deck attaches to the home, and it is one of the most important areas to inspect. Proper flashing and water management at this connection protect both the deck structure and the home’s exterior.
An under-deck system should complement existing flashing, not replace it. If water is getting behind the ledger or siding, adding drainage panels underneath will not correct the underlying problem. A contractor should address that issue before closing in the area below the deck.
Choose the Right Type of Underdecking
There are two primary approaches, and the better choice depends on whether you are building a new deck, resurfacing an existing deck, or upgrading the space beneath a deck that is already in good condition.
A below-joist system is installed from underneath after the deck is built. This is often the practical choice for existing decks because it avoids removing the deck boards. It can also provide a finished-ceiling appearance in colors that coordinate with the home and outdoor living area.
An above-joist waterproofing system is installed over the framing and beneath the decking. Because it keeps water from reaching the top of the joists, it offers added framing protection. This option is generally best during new construction or a full redecking project, when the decking is already being installed or removed.
Neither option is automatically right for every home. A below-joist system may be an excellent upgrade when the existing deck is structurally sound and homeowners want to use the space below it. If a deck is nearing the end of its service life, investing in drainage without addressing aging boards and framing may not be the best long-term value.
The Under Deck Drainage System Installation Process
A professional installation begins with a clear plan for where water will go. The drainage outlet should move water away from the foundation, walkways, and low spots in the yard. Simply emptying a gutter at the edge of a patio can create erosion, splashback, or a muddy perimeter.
Once the drainage route is established, the installer measures the joist layout and designs the system around obstacles such as posts, beams, stairs, electrical lines, and hose connections. Every penetration and transition must be carefully fitted. Small gaps or improperly sealed joints can allow water to bypass the system and drip into the space below.
The panels or troughs are then installed at the manufacturer-recommended slope. Depending on the system, this may involve mounting rails, fastening brackets, fitting channels between joists, or securing a membrane. Components should be securely attached without compromising structural members or creating locations where water can collect.
Gutters and downspouts are installed after the drainage field is in place. This final portion is not an afterthought. A system that captures water effectively but lacks adequate gutter capacity can overflow during high-volume rain. Proper outlets, clean connections, and a sensible discharge location are what turn drainage panels into a complete water-management solution.
Before the work is considered complete, the installer should check the layout, finish, drainage path, and visible details from below. A controlled water test can reveal drips, pooling, or sections that need adjustment before furniture and finishes are added to the space.
Plan the Finished Space Before Closing It In
The best time to consider lighting, fans, outlets, and ceiling finishes is before underdeck panels are installed. Adding electrical access afterward can require removing sections of the system, so it pays to make those decisions early.
Low-voltage lighting can improve safety on steps and create a welcoming atmosphere for evening gatherings. A ceiling fan can make a covered seating area more comfortable in summer, provided it is rated and installed appropriately for the location. If you are planning a television, speakers, or outdoor kitchen features nearby, discuss cable routing and weather-rated electrical requirements during the design phase.
Ceiling height also affects the final experience. Underdecking installed below deep beams or low framing can make the space feel more enclosed. A thoughtful plan can use lighting placement, color selection, and furniture scale to keep the area open and inviting.
Do Not Forget Access and Maintenance
Drainage systems need occasional maintenance. Leaves, shingle grit, pollen, and nesting material can collect in gutters or at discharge points. Choose a design that allows reasonable access to key areas, especially around downspouts, valves, electrical connections, and the house wall.
Homeowners should inspect the system after major storms and clean gutters on a regular schedule. If a section begins dripping where it did not before, address it promptly. Early adjustments are usually simpler than allowing water to affect finishes or framing over time.
Why Professional Installation Matters
Underdecking may look straightforward from the ground, but a polished installation combines carpentry, drainage planning, and close attention to manufacturer specifications. Poor slope, loose fasteners, unsealed openings, and undersized gutters can all undermine the purpose of the project.
For homeowners in Delaware and Southern Chester County, local weather adds another layer of consideration. Systems must handle spring rain, humid summers, fallen leaves, and freeze-thaw conditions without becoming a recurring maintenance problem. The deck itself must remain safe, code-conscious, and visually finished from every angle.
Deck Masters approaches these projects as part of the larger outdoor-living plan, not as an accessory added without thought. Whether the goal is sheltered storage or a finished patio beneath a premium deck, the workmanship should protect the investment above while making the space below more enjoyable.
A well-designed drainage system gives your deck a second purpose. Before selecting panels or colors, have the structure, water path, and plans for the space below reviewed together. That early planning is what helps a once-wet area become a dependable part of your home.